How to Install an Animal Barrier Fence: A Step-by-Step Guide

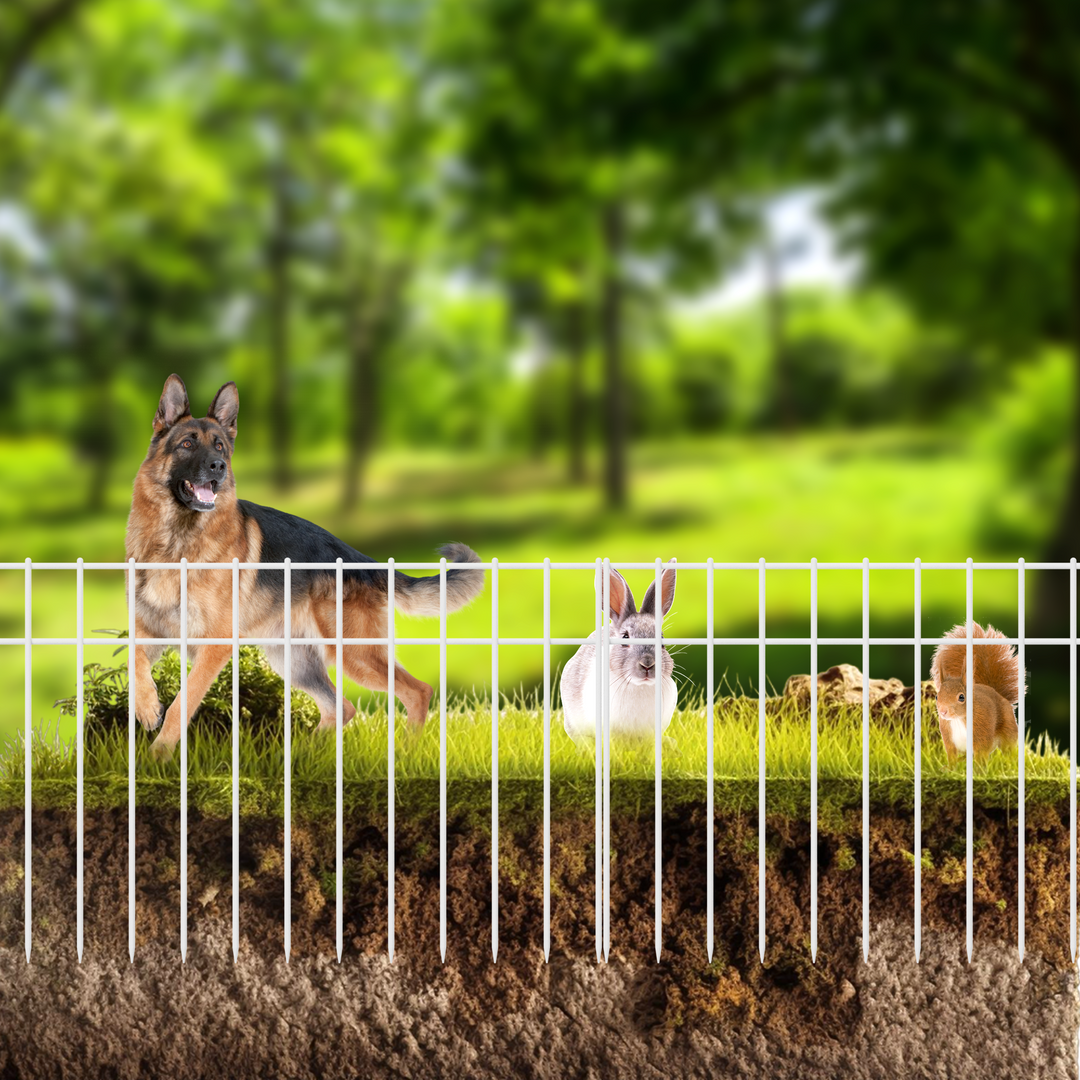
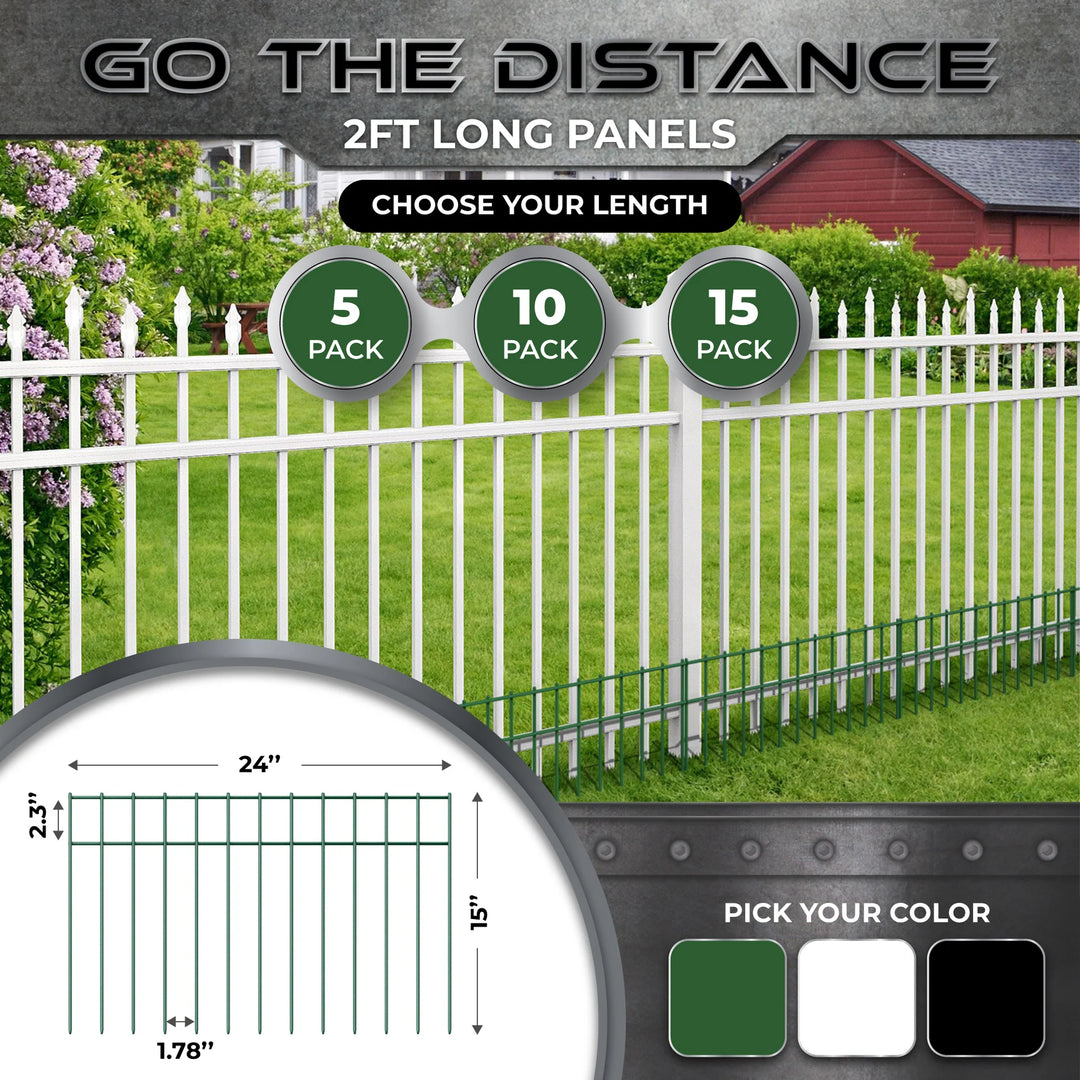
Installing an animal barrier fence is an effective way to protect your garden from unwanted visitors. The Prime Pick Solutions Barrier Fence is designed to be durable and easy to install, ensuring that your plants and flowers remain safe. Here’s a step-by-step guide to help you install your Prime Pick Solutions Barrier Fence efficiently.
Step 1: Gather Your Materials
Before you start, make sure you have all the necessary materials and tools. You will need:
- Prime Pick Solutions Barrier Fence
- Fence posts (wooden or metal)
- Post driver or mallet
- Measuring tape
- Shovel or post hole digger
- Wire cutters or scissors
- Zip ties or fence clips
- Gloves
- Level
Step 2: Plan Your Fence Layout
Determine the area where you want to install the fence. Use measuring tape to measure the perimeter of your garden or the specific area you want to protect. Mark the positions where you will place the fence posts, ensuring they are evenly spaced.
Step 3: Install the Fence Posts
Start by digging holes for the fence posts at the marked positions. The holes should be deep enough to secure the posts firmly. As a general rule, bury at least one-third of the post height underground for stability.
Place the fence posts into the holes and use a level to ensure they are straight. Fill the holes with soil and compact it around the posts to keep them in place. If you are using metal posts, you can use a post driver to hammer them into the ground.
Step 4: Attach the Barrier Fence
Unroll the Prime Pick Solutions Barrier Fence and start attaching it to the first post. Use zip ties or fence clips to secure the fence to the post, starting from the bottom and working your way up. Make sure the fence is taut and level as you attach it.
Step 5: Continue Along the Perimeter
Move along the perimeter, attaching the fence to each post as you go. Ensure that the fence is tight and straight between posts. Use additional zip ties or fence clips to secure the fence at regular intervals for added stability.
Step 6: Secure the Bottom Edge
To prevent animals from burrowing under the fence, secure the bottom edge of the fence to the ground. You can do this by burying the bottom few inches of the fence or by placing heavy objects, such as rocks or bricks, along the base.
Step 7: Finish the Installation
Once you have attached the fence to all the posts and secured the bottom edge, walk along the fence line to check for any weak spots or gaps. Make any necessary adjustments to ensure the fence is secure and will effectively keep animals out.
Step 8: Maintain Your Fence
Regularly inspect your Prime Pick Solutions Barrier Fence for any damage or wear. Repair any holes or weak spots promptly to maintain the effectiveness of the fence. Keeping the fence in good condition will ensure long-lasting protection for your garden.
Conclusion
Installing the Prime Pick Solutions Barrier Fence is a straightforward process that can significantly enhance the security of your garden. By following these steps, you can create a robust barrier that keeps unwanted animals out and protects your plants and flowers. Enjoy the peace of mind that comes with knowing your garden is safe and secure with the Prime Pick Solutions Barrier Fence.


